
|
|
Step 1: Review and practice how to calculate perimeter and area of a Polygon. You will need to review the area of rectangles, squares, triangles, parallelograms, and circles. Look up the formulas for each of the shapes with the resource provided below and make a list of each on a blank sheet of scrap paper. I have also provided a link below to help navigate each of you to the right formulas to find area and perimeter for all the shapes that can be used to complete this blue print.
Perimeter and Area Review:
http://www.bgfl.org/bgfl/custom/resources_ftp/client_ftp/ks2/maths/perimeter_and_area/index.html
Formulas:
http://www.dummies.com/how-to/content/formulas-for-perimeter-area-surface-area-and-volum.html
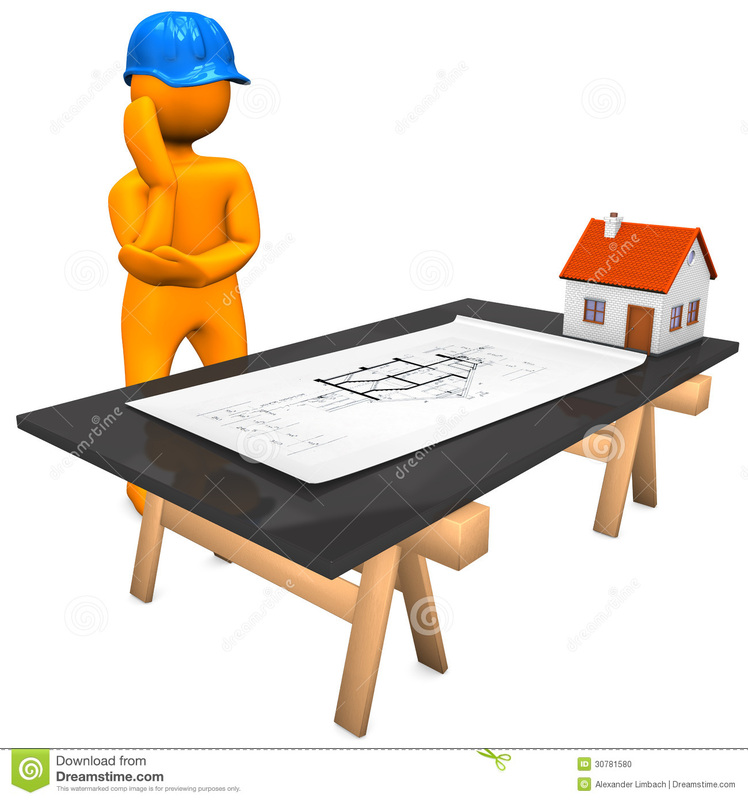
Step 2: You and your partner are going to see if you both understand area and perimeter enough to draw the blueprint of your dream home. Follow the instructions for both perimeter and area websites to start designing each of your rooms to start the blueprint.
Perimeter-
Area-
CONGRATS YOU HAVE JUST EARNED YOUR ARCHITECT LICENSE!
Step 3: You and your partner will help each other draw a rough sketch of your dream house that both of you will create. Use graph paper to design the layout of the house and use each of the small squares on the graph paper to help measure in units the dimensions. You are allowed to pick the units being used to create every room in the house. You must include a kitchen, dining room, livinig room, bathroom, and, two bedrooms in the layout of your dream house. In addition to the rooms throughout the house, you must include six pieces of furniture inside or outside of the home. I provided a link to graph paper for you to print at home or even at school.
Step 4: Once you have a sketch on graph paper complete with dimensions labeled, then you start tracing the sketch onto a piece of white paper for the final draft of the blueprint. The easiest approach to transferring your sketch to the plain white sheet of paper is to put the white piece of paper over the sketch and use a straight edge to trace the design of the house. Label each of the dimensions for each of the rooms and furniture throughout the dream house. You and your partner need to type up a list of the area and perimeter of each room and pieces of furniture to paste on your blueprint.
Step 5: Be creative and add color to your blueprint of your one story dream house.
Step 6: Please hand in your final blueprint to me by March 27th.
Other useful resources:
http://www.wikihow.com/Draw-Blueprints-for-a-House
http://interactivesites.weebly.com/areaperimeter.html
Here are some useful videos that deal with perimeter and area:
Perimeter and Area Review:
http://www.bgfl.org/bgfl/custom/resources_ftp/client_ftp/ks2/maths/perimeter_and_area/index.html
Formulas:
http://www.dummies.com/how-to/content/formulas-for-perimeter-area-surface-area-and-volum.html
Step 2: You and your partner are going to see if you both understand area and perimeter enough to draw the blueprint of your dream home. Follow the instructions for both perimeter and area websites to start designing each of your rooms to start the blueprint.
Perimeter-
- Go to http://www.math.com/school/subject3/lessons/S3U2L4GL.html
- Read the review of the perimeter formula for polygons and take notes if needed.
- Complete each step of the perimeter review and take turns completing each of the practice problems on the fourth step
Area-
- Go to http://www.math.com/school/subject3/lessons/S3U2L4GL.html
- Read the review of the area formulas and take notes if needed.
- Complete each step of the area review and take turns completing each of the practice problems on the fourth step.
CONGRATS YOU HAVE JUST EARNED YOUR ARCHITECT LICENSE!
Step 3: You and your partner will help each other draw a rough sketch of your dream house that both of you will create. Use graph paper to design the layout of the house and use each of the small squares on the graph paper to help measure in units the dimensions. You are allowed to pick the units being used to create every room in the house. You must include a kitchen, dining room, livinig room, bathroom, and, two bedrooms in the layout of your dream house. In addition to the rooms throughout the house, you must include six pieces of furniture inside or outside of the home. I provided a link to graph paper for you to print at home or even at school.
Step 4: Once you have a sketch on graph paper complete with dimensions labeled, then you start tracing the sketch onto a piece of white paper for the final draft of the blueprint. The easiest approach to transferring your sketch to the plain white sheet of paper is to put the white piece of paper over the sketch and use a straight edge to trace the design of the house. Label each of the dimensions for each of the rooms and furniture throughout the dream house. You and your partner need to type up a list of the area and perimeter of each room and pieces of furniture to paste on your blueprint.
Step 5: Be creative and add color to your blueprint of your one story dream house.
Step 6: Please hand in your final blueprint to me by March 27th.
Other useful resources:
http://www.wikihow.com/Draw-Blueprints-for-a-House
http://interactivesites.weebly.com/areaperimeter.html
Here are some useful videos that deal with perimeter and area:
